Getting Started#
dBWav quickly analyses long-duration hydrophone recordings in real time. This is made possible by ‘pre-processing’ the recorded data and storing the results in a much smaller data file called an LVX file.
This getting started guide will guide you to install dBWav and process an example tutorial measurement file.
Installing dBWav#
Go to the dBWav downloads website and download the latest version of dBWav. Currently the latest version is version 1.5.0
Unzip the zip file into a convenient location. The zip file contains an installer file (*.msi), an EULA, and a set of example files.
Open the installer file (*.msi) to install dBWav, following the installation instructions.
Licence activation#
When you first open dBWav, it will prompt you for a licence key code. Please copy and paste the licence key code that was provided to you to activate dBWav.
Step-by-step processing example#
The example we will use is a hydrophone measurement from hydrophone ID 67391511 which is contained in the installation zip file in a folder called '67391511'
The five processing function buttons at the top of the interface (shown below) handle LVX file pre-processing, opening and display. These functions are set out in sequential order.

Step 1: Set up#
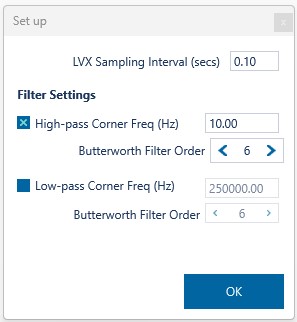
Set up the initial processing parameters which are used to generate the LVX file.
-
LVX sampling interval
Select the time interval in seconds for each entry in the LVX file. 0.1 seconds is the smallest period.
-
Filter Settings
You can choose to apply low- and high-pass filters. The filters have adjustable corner frequencies and orders. The default value of a high-pass filter at 10 Hz is a good compromise.
Step 2: Process#
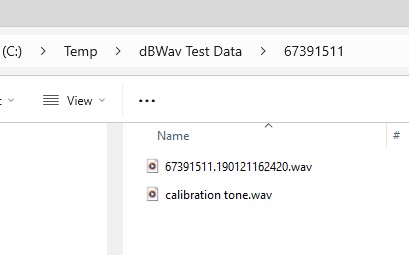
Use this button to select the source recordings (usually wav files). In the tutorial example we will process file 67391511.190121162420.wav . This is a measurement file generated by a SoundTrap with number 67391511. The measurement start time is stored in the file name (i.e. 190121162420). Opening this file will begin the processing stage and a processing time bar will appear. Multiple files can be opened to enable batch processing.
After processing is complete (which should be very quick for this short file), some information will appear in the Selection Overview tab in the bottom half of the screen.
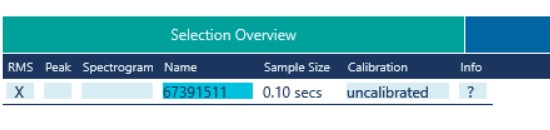
This shows that the measurement file has been processed, but data cannot be shown as we have not linked calibration information to this hydrophone.
Step 3: Calibrate#
The LVX files can be calibrated by one of three methods:
-
Calibration signal using a recorded calibration tone on the hydrophone from a pistonphone at a known level
-
SoundTrap end-to-end values using the factory calibration data from the Ocean Instruments website
-
System specification using calibration values of individual components.
For this tutorial, we will use the 'Signal' calibration method following this process.

-
Click the 'Load reference signal' button to select and load the calibration measurement signal 'calibration tone.wav'
-
Enter the known level generated by the calibration tone into the Input sound level field
-
Click and drag over the section of the audio recording which has the calibration tone in the signal plot
-
Click on the 'Create CAL file' button to create a CAL file in the same directory as the calibration tone.
-
Click 'OK" to exit the Calibrate window.
We now need to apply the calibration file to the LVX file.
Located in the bottom left in the Overview tab, you will see the that the LVX files say “uncalibrated”. Click the “uncalibrated” text to load the calibration file.
Select the calibration file you would like to apply to the LVX file (in this case 'calibration tone.CAL'), and click open.
Once an LVX file has been calibrated, a time-trace will be shown on the chart on the main window. If the time-trace does not appear, click the refresh button in the top left to centre in on the measurement period.
Step 4: Start analysing#
Now that the signal for hydrophone 67391511 is calibrated, the level traces and spectrogram can be shown and you can proceed to analyse its contents.
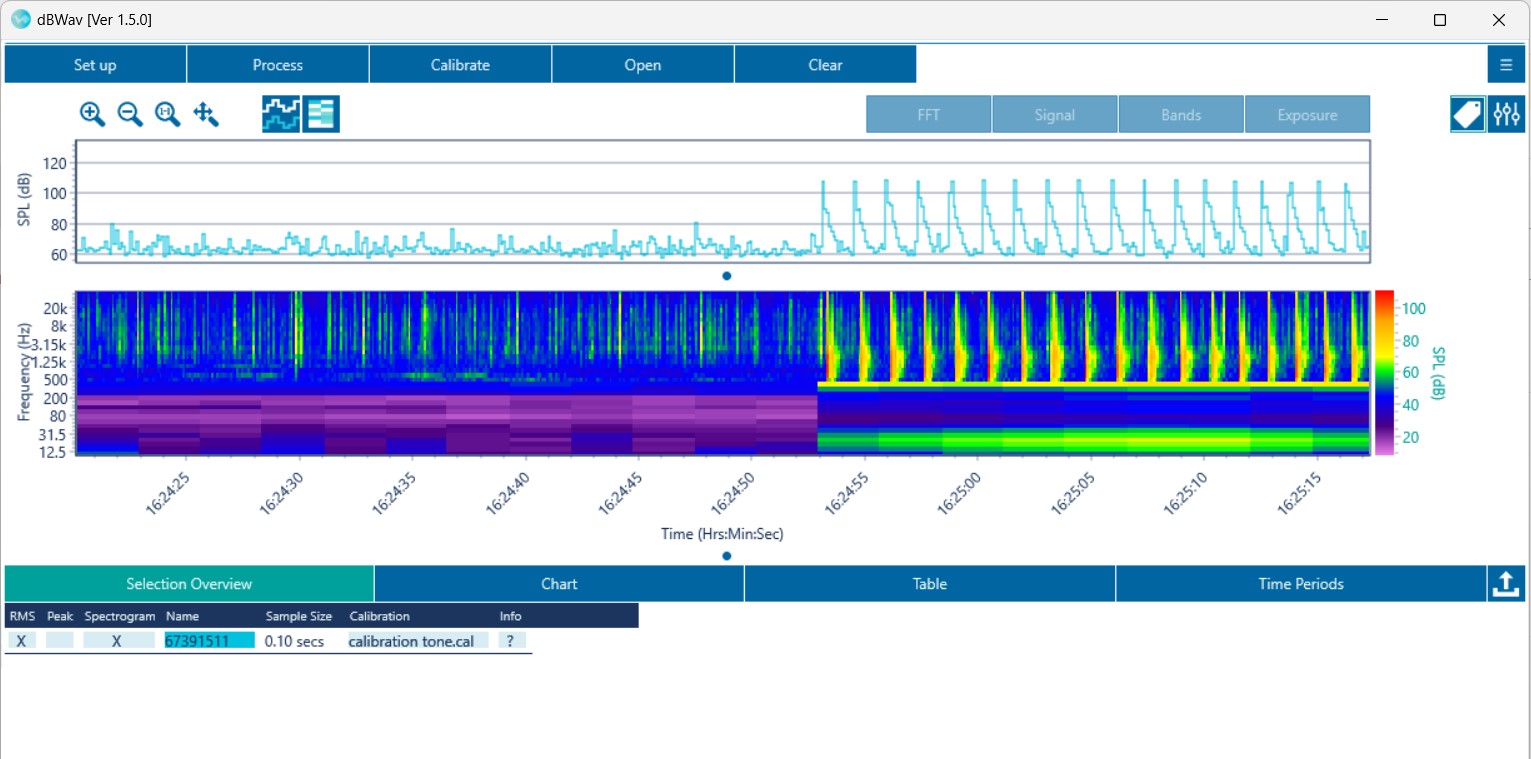
For further information on how to analyse your signal, you can read the Using dBWav sections in this guide. We also have a suite of video tutorials you can review Video Tutorials.
Open and Clear LVX files#
If a measurement wav file has been processed and a LVX file already generated, you can click on the 'Open' button to open the LVX file(s), add a calibration file if necessary and continue analysing the data.
You can clear all the LVX files in the current model by clicking the 'Clear' button in the top menu.